Target Selection
First, users have to open the application from Geoscience ANALYST’s Python menu, as shown in Figure 3. The application is located in the Pro Geology section. Just click on the Target Selection button to open the application.
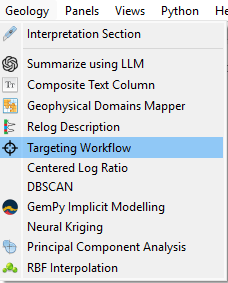
Figure 3 Open the Targeting workflow from Geoscience ANALYST’s Python menu.
When launching the application, a window appears, as shown in Figure 4, prompting users to select an Object. This object should contain the data to be use for targeting.
If a session has been previously saved, users can reload it using the Pretrained Model option. They must select a .pkl file, previously generated from the workflow, and the application will automatically restore the full session state, including the model and all information required to resume the workflow. This option is useful when users want to continue from a previously saved state.
Users should also select the target. These targets represent the mineralized points that will be used to identify similar points with potential mineralization. The target’s value can be set using a range slider for continuous values or categories for referenced values. All points outside this range will be categorized as “negative” points (points with no known mineralization). All other numeric data layers (float, integer, and referenced) associated with the target will be employed in subsequent steps.
Users can also optionally provide a Referenced Data property in the Cross validation groups option. This data will be used during the workflow to define the training and test groups in the train-test split step. If no referenced data is provided, the application will automatically split the dataset into training and test groups under the user’s control.
Then, users can press OK to initiate the workflow.
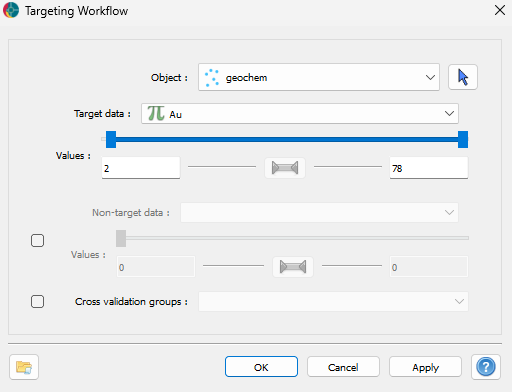
Figure 4 Select the object containing the data, and define the target to use.
As previously noted, this process involves searching for statistical correlations between mineralization and various properties, requiring a statistically representative number of positive points—ideally at least a few hundred. Operating the application with fewer points can lead to unreliable results, not only because the limited data may fail to capture the necessary correlations for accurate analysis, but also because it might suggest spurious correlations that don’t actually exist due to the insufficient sample size.
Optionally, negative points can be chosen using the Non-target data option. However, selecting negative examples carries significant statistical implications. Instead of identifying “anomalous” points against a background, the application will assign a probability for every point to belong to either the positive or negative class. Thus, a point not sharing properties with either class could be classified as “positive”, regardless of its mineralization probability.
Geologists often worry that positive points not mapped might be included in the negative dataset. However, since positive points are generally scarce and the algorithm seeks statistical trends rather than case-by-case scenarios (unless it suffers from overfitting, then unreliable), having a few positive points in the negative dataset should not be problematic.
One scenario where using negatives is relevant is when a significant proportion of positive points is expected in the entire dataset (>20%), which is exceedingly rare in mineral prospectivity.